Wouldn't it be great if you could ask questions about your company's internal knowledge directly from the AI tools you already use?
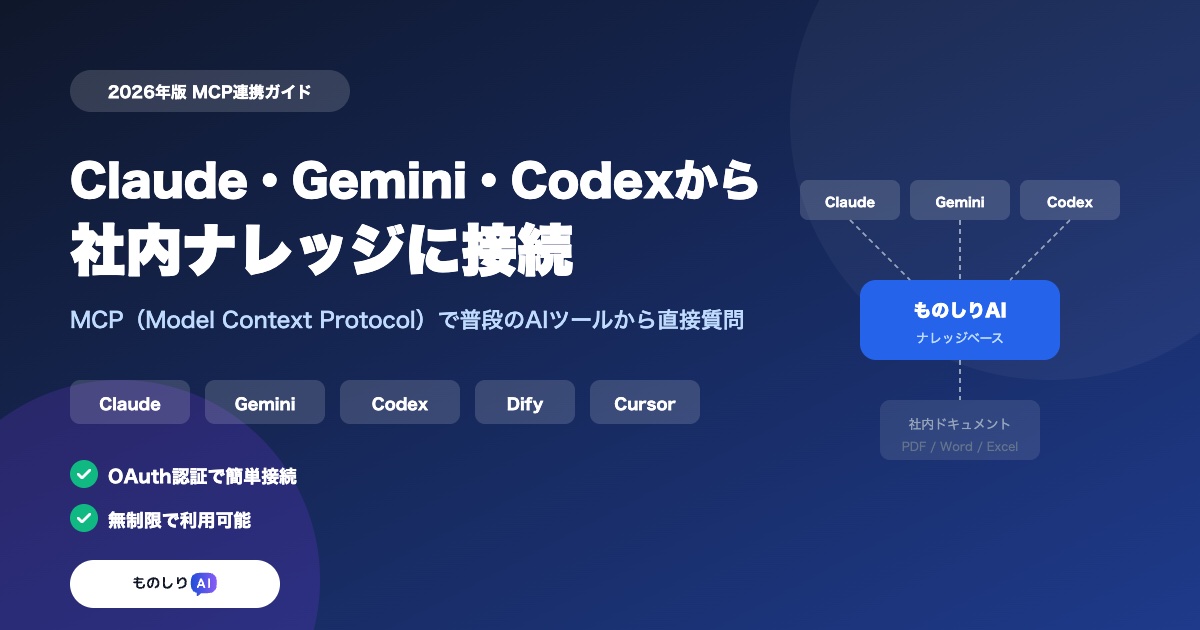
Monoshiri AI, an AI knowledge base for internal documents, supports MCP (Model Context Protocol), allowing you to connect directly to Monoshiri AI's knowledge base from any MCP-compatible AI client -- including Claude Desktop, Claude.ai, Gemini CLI, Codex, Dify, and Cursor.
This guide walks you through how to connect each tool to Monoshiri AI. See also our MCP integration overview.
What You'll Learn
- What MCP (Model Context Protocol) is
- The four MCP tools provided by Monoshiri AI
- How to connect from Claude Desktop / Claude.ai / Claude Code / Gemini CLI / Codex / Dify / Cursor
- Security and access control
What Is MCP?
MCP (Model Context Protocol) is an open standard protocol that allows AI assistants to connect to external data sources and tools. Proposed by Anthropic, MCP is now supported by major AI tools including Claude, Gemini CLI, and Codex as of 2026.
With MCP, you can simply ask something like "Look up our PTO policy" in your regular AI chat, and it will retrieve the relevant information from Monoshiri AI's knowledge base to generate an answer. No need to switch between AI tools -- your workflow stays uninterrupted.
Four MCP Tools Provided by Monoshiri AI
Monoshiri AI's MCP server provides the following four tools (operations):
| Tool Name | What It Does |
|---|---|
| list_folders | Retrieve a list of folders you have access to |
| list_documents | Retrieve a list of documents in a specified folder |
| search | Generate an AI answer (with sources) from a specified folder's knowledge |
| get_document | Retrieve detailed information and content of a document |
The search tool is the most important one. When you submit a natural language query like "How do I submit an expense report?", the AI navigates the folder's documents and generates an answer with cited sources. folder_id is optional — if multiple folders exist, the response returns a selection list so you (or the AI) can pick the most relevant one and call search again.
Prerequisites
- You have a Monoshiri AI account
- Your team admin has enabled the MCP integration
- MCP connections are read-only (
mcp:readscope). You cannot add or delete documents through MCP
Connection Setup
The Monoshiri AI MCP server URL is:
https://api.monoshiri.ai/mcp
Authentication is done via OAuth 2.1 (recommended) or API key. When you connect using OAuth from any client, your browser will open to the Monoshiri AI login screen -- simply authorize the connection and you're all set.
1. Claude Desktop (Anthropic)
Claude Desktop is Anthropic's desktop application.
Setup steps:
-
Open the following config file (create it if it doesn't exist):
- macOS:
~/Library/Application Support/Claude/claude_desktop_config.json - Windows:
%APPDATA%\Claude\claude_desktop_config.json
- macOS:
-
Add the following:
{
  "mcpServers": {
    "monoshiri": {
      "url": "https://api.monoshiri.ai/mcp",
      "transport": "streamable-http"
    }
  }
}
- Restart Claude Desktop. Your browser will automatically open to the Monoshiri AI OAuth authorization screen
- Click "Allow" to complete the connection
Once connected, simply ask Claude something like "Tell me about our company's [topic]" and it will generate answers from Monoshiri AI's knowledge base.
2. Claude.ai (Web)
You can also connect from the web version of Claude.ai as a custom connector.
Setup steps:
- Log in to Claude.ai
- Go to Settings > Connectors > Add custom connector
- Enter
https://api.monoshiri.ai/mcpas the Server URL - Click Connect -- the OAuth authorization screen will open
- Click "Allow" to complete the connection
Since everything runs in the browser, no app installation is required.
3. Claude Code (CLI)
Claude Code is a terminal-based AI coding agent.
Setup steps:
Add the following to your Claude Code config file (~/.claude/settings.json or .claude/settings.json in your project root):
{
  "mcpServers": {
    "monoshiri": {
      "url": "https://api.monoshiri.ai/mcp",
      "transport": "streamable-http"
    }
  }
}
Or add it directly from the CLI:
claude mcp add monoshiri --transport streamable-http --url https://api.monoshiri.ai/mcp
During development, you can ask questions like "Check the spec for this feature" or "Search for past incident reports" directly from your terminal.
4. Gemini CLI (Google)
Gemini CLI is Google's terminal-based AI agent, which supports MCP servers.
Setup steps:
Add the following to your Gemini CLI config file (~/.gemini/settings.json):
{
  "mcpServers": {
    "monoshiri": {
      "url": "https://api.monoshiri.ai/mcp",
      "transport": "streamable-http"
    }
  }
}
Reference: Gemini CLI MCP documentation
5. Codex CLI (OpenAI)
Codex CLI is OpenAI's terminal-based AI agent. It supports MCP and can connect to Streamable HTTP servers.
Setup steps:
Add it from the CLI:
codex mcp add monoshiri --transport streamable-http --url https://api.monoshiri.ai/mcp
Or add it to your config file (~/.codex/config.toml or .codex/config.toml in your project root):
[mcp_servers.monoshiri]
type = "url"
url = "https://api.monoshiri.ai/mcp"
transport = "streamable-http"
Reference: Codex MCP documentation
6. Dify
Dify is an open-source AI application development platform. It natively supports MCP since v1.6.0, allowing you to use MCP servers as tools.
Setup steps:
- In the Dify dashboard, go to Tools > MCP
- Click Add Server
- Enter
https://api.monoshiri.ai/mcpas the Server URL - Configure authentication (use an API key)
- Once saved, Monoshiri AI's search tools will be available in your Dify workflows and agents
By connecting Monoshiri AI through Dify, you can build custom AI agents powered by your internal knowledge -- all without writing code.
7. Cursor (IDE)
Cursor is an AI-powered code editor that supports MCP servers.
Setup steps:
Create .cursor/mcp.json in your project root, or add the following to your user-level config at ~/.cursor/mcp.json:
{
  "mcpServers": {
    "monoshiri": {
      "url": "https://api.monoshiri.ai/mcp",
      "transport": "streamable-http"
    }
  }
}
While coding in Cursor, you can ask questions like "Check the requirements in this spec document" or "Search our internal API design guidelines" directly within the editor.
Verifying Your Connection: MCP Inspector
If your connection isn't working, you can troubleshoot using MCP Inspector.
npx @modelcontextprotocol/inspector
After launching:
- Transport: Select "Streamable HTTP"
- URL: Enter
https://api.monoshiri.ai/mcp - Click the Connect button to start the OAuth flow
Once connected successfully, you'll see the four tools: list_folders, list_documents, search, and get_document.
Security and Access Control
Authentication
| Method | Use Case | Expiration |
|---|---|---|
| OAuth 2.1 (recommended) | Claude Desktop / Claude.ai / Cursor, etc. | Access token: 15 min, Refresh token: up to 60 days |
| API Key | CI/scripts / Dify, etc. | Valid until revoked by an admin |
Access Scope
- MCP is read-only (
mcp:readscope) - Only folders the user has access to are included in search results
- Folder-level access controls remain enforced through MCP
- You cannot add, delete, or modify documents via MCP
Admin Controls
- Team admins can enable or disable the MCP integration at any time
- Disabling it immediately terminates all member MCP connections
- Only admins can issue or revoke API keys
Use Cases
| Scenario | How to Use |
|---|---|
| Check specs during development | Ask Claude Code / Cursor / Codex: "Check the spec for this feature" |
| Look up info during meetings | Ask Claude.ai: "What was decided in the last meeting notes?" |
| Build custom AI agents | Create a Dify workflow that incorporates Monoshiri AI search |
| Everyday work questions | Ask Claude Desktop: "How do I submit an expense report?" |
| Code review | Ask Cursor: "Does this code follow our internal coding guidelines?" |
Summary
With Monoshiri AI's MCP integration, you can ask questions about your internal knowledge directly from the AI tools you already use.
- Claude Desktop / Claude.ai / Claude Code: Just add three lines to a JSON config file to connect
- Gemini CLI: Connect from Google's terminal-based AI
- Codex CLI: Connect from OpenAI's coding agent
- Dify: Build custom AI agents without writing code
- Cursor: Look up specs while coding in an AI-powered editor
- Security: OAuth 2.1 compliant, read-only access, folder-level access control
Access your internal knowledge without ever leaving your current workflow. That's the real value of MCP integration.
You can also find MCP connection instructions on the account settings page in the Monoshiri AI dashboard.
Share this article
Related Articles

5 Things to Do in the First 30 Days After Adopting an AI Knowledge Base
A week-by-week action plan for the first 30 days after deploying an AI knowledge base. Prevent the 'we bought it but nobody uses it' trap and build a knowledge base that grows with your team.
![IT Manager's Checklist for Getting an Internal AI Tool Approved [2026 Edition]](/blog/it-approval-checklist/header.jpg)
IT Manager's Checklist for Getting an Internal AI Tool Approved [2026 Edition]
Seven checklist items for getting an internal AI tool through the approval process. Covering security, cost, legal compliance, and exit strategy, this guide helps IT and general affairs managers address common objections and build a persuasive business case.
![Dify vs Monoshiri AI -- Choosing the Right Internal Knowledge AI for Your Team [2026 Edition]](/blog/dify-vs-monoshiri/header.jpg)
Dify vs Monoshiri AI -- Choosing the Right Internal Knowledge AI for Your Team [2026 Edition]
A practical comparison of Dify and Monoshiri AI across setup effort, Slack integration, knowledge ingestion, and model selection. Find out which fits engineering-led teams and which fits IT and business-led teams.