Run a shop on BASE for a while and the incoming questions settle into a pattern. "How much is shipping?" "Can I return this?" "Does this size run large?" Answering the same three questions by hand can absorb an entire day.
They also tend to arrive outside business hours. If your reply lands the next morning, the customer has often bought from someone else in the meantime. Answering on the spot, without making anyone wait, cuts both the workload and the lost sales.
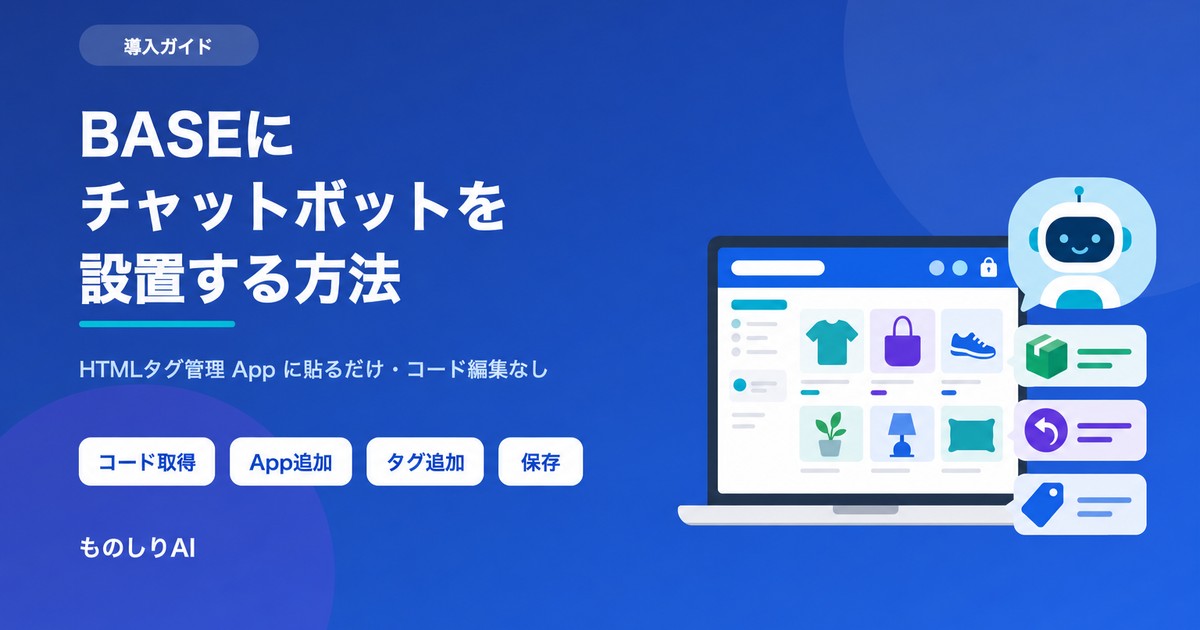
This article walks through putting an AI chatbot on a BASE shop, following the actual admin screens. It covers what the free tier really covers, which documents you need to upload before it can answer anything useful, and where to look when the button refuses to show up.
What this article covers
- Why "HTML Tag Management" is effectively the only place to install a chatbot on BASE
- The four concrete setup steps, with no code editing
- How far a free plan goes, and the point where a paid plan starts
- The documents to upload first so shipping, return and sizing questions get answered
- Where to look when the widget does not appear
1. On BASE, the install point is the HTML Tag Management app
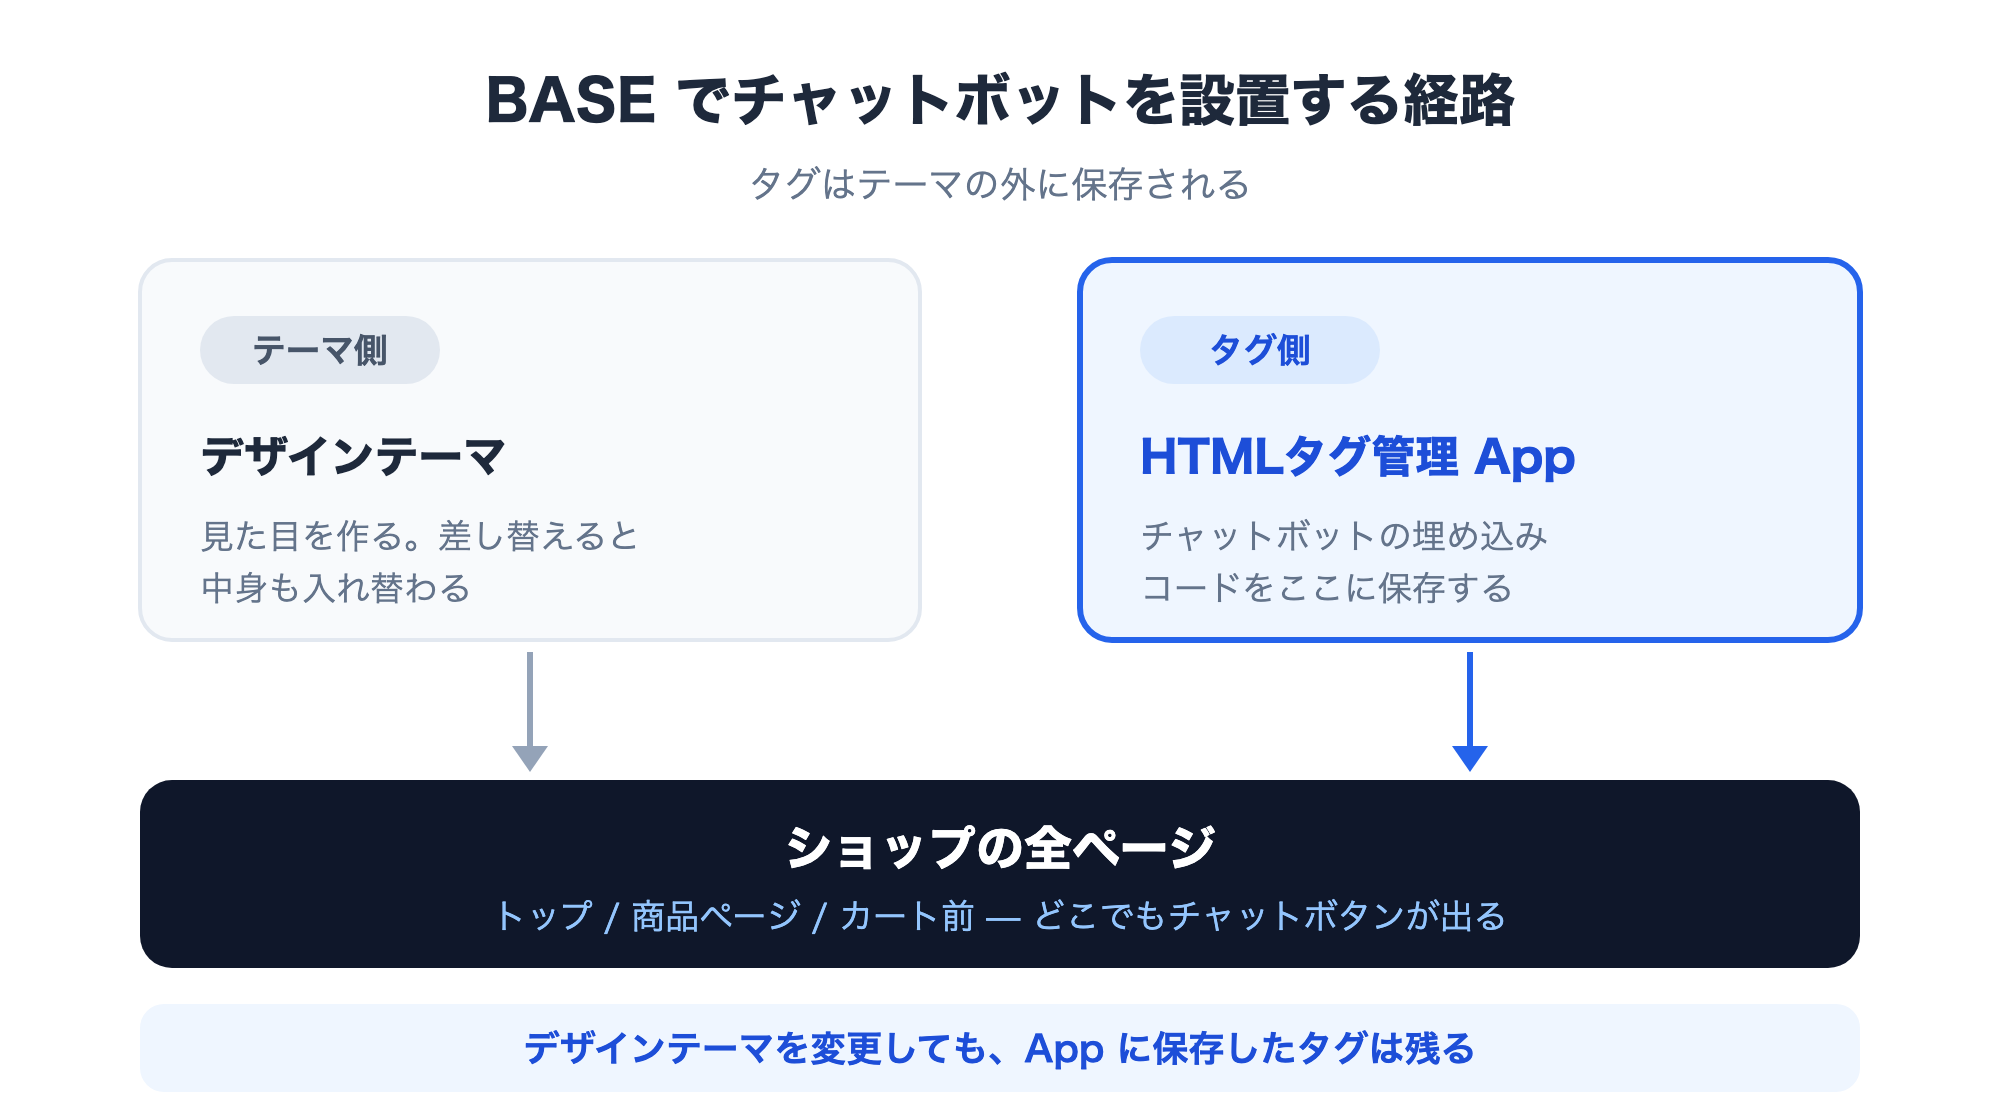
BASE has no equivalent of editing a theme's PHP files. BASE controls the HTML of your shop, so the way to inject an external script is through an app that BASE provides for exactly that purpose.
That app is HTML Tag Management. You install it for free from Apps in the BASE admin, and it outputs any HTML tag across every page of your shop. It is the standard mechanism -- the same one people use for analytics and ad tags, not something specific to chatbots.
That structure turns out to have practical advantages.
- Changing your design theme does not wipe the setting. The tag is stored separately from the theme, so you can rebuild the look of the shop and the chatbot stays.
- Page targeting lives in one place. You do not paste anything into individual product pages.
- Installation is copy and paste. You never write HTML yourself.
The flip side: there is no practical way to add a chatbot to BASE without the HTML Tag Management app. Once you accept that, the rest of the process is short.
2. The four setup steps
The example below uses Monoshiri AI. It takes about five minutes, and every BASE-side action happens inside the admin.
Step 1: Copy the embed code
Start on the chatbot side. Create an account, open your widget in the admin, and copy the embed code. It is a single script tag:
<script async src="https://monoshiri.ai/widget/embed.js" data-api-key="(your issued key)" data-api-url="https://api.monoshiri.ai"></script>
You do not register your shop domain in advance. The same code works on a base.shop subdomain and on a custom domain.
Step 2: Install the HTML Tag Management app
In the BASE admin, search Apps for "HTML Tag Management" (HTMLタグ管理), then install and enable it. BASE charges nothing for it.
Step 3: Add a custom tag
Open the app and choose "Add a new tag" then "Custom tag (free entry)". The tag name only has to make sense to you later -- something like "Monoshiri AI inquiry widget" is fine.
Once you are running several tags, it stops being obvious which is which. Naming this carefully pays off quietly.
Step 4: Paste it and save
Paste the script tag from step 1 into the tag field. All pages is normally the right display setting. The urge to limit it to product pages is understandable, but shipping and return questions come up on the home page and just before checkout too, so starting shop-wide catches more of them.
Save, open your shop, and check for the chat button in the bottom-right corner. That is the whole installation.
Fuller requirements and annotated screens are on the BASE integration page. For chat widgets on any site, not just BASE, see the chat widget implementation guide.
3. How far the free tier goes
Costs land in two places.
On the BASE side: HTML Tag Management is free. It works on the standard plan, which has no fixed monthly fee, so you do not need to upgrade your BASE plan.
On the chatbot side: this is where the real cost sits, and free-tier limits vary a lot between services.
For reference, here are Monoshiri AI's numbers.
| Free | Light | Standard | Pro | |
|---|---|---|---|---|
| Monthly (incl. tax) | ¥0 | ¥2,980 | ¥7,980 | ¥29,800 |
| AI answers per month | 150 | 1,000 | 3,000 | 20,000 |
| Folders | 1 | 5 | 10 | 30 |
| Files per folder | 30 | 100 | 300 | 300 |
| Chat widget | 1 (150/month) | 1 | 1 | 1 |
As of September 2026. See Pricing for current details.
Where free is genuinely enough
- A newly launched shop that does not yet get much traffic
- Low inquiry volume, where you mainly want to see what people ask
- Limited use, such as switching it on for a sale period
Where a paid plan starts
- More than 150 questions a month. Five a day gets you there.
- You want separate document folders per product category (the free plan allows one folder).
- Answering pauses once you hit the cap, so running out mid-sale is a real problem.
Honestly: once the chatbot starts working, the free allowance goes quickly. Treat the free plan as a way to confirm it works on your shop, and plan for a paid tier if you look likely to approach 150 answers a month. If months pass without reaching the cap, you have learned something useful too -- inquiry volume is genuinely low.
For how the word "free" splits into three different things, see How to add a chatbot to WordPress for free. The framing applies to BASE unchanged.
4. The documents that make it answer shipping, returns and sizing
Installed on its own, a chatbot answers nothing. The quality of the documents it reads becomes the quality of its answers.
You do not build scenarios or question branches. Upload text or PDFs and the AI answers from their contents. For an online shop, start with these five.
- Shipping table -- rates by region and weight, the free-shipping threshold, how combined orders are handled
- Return and exchange policy -- the window, who pays return postage, excluded items
- Delivery time estimates -- days until dispatch, arrival estimates by region, peak-season handling
- Size charts and materials -- measurements, how items fit, washing instructions
- Legal / commercial transaction disclosures -- copying the page already published on your shop is enough
The trick is to turn what is already written on your shop pages into files. There is no need to compose new text, and trying to will stall the rollout on its own.
If you want vague questions like "does this run large?" answered, include the phrasing from your product descriptions -- "a relaxed fit" and similar -- so the AI has that context to work from.
5. Where people get stuck
The chat button does not appear
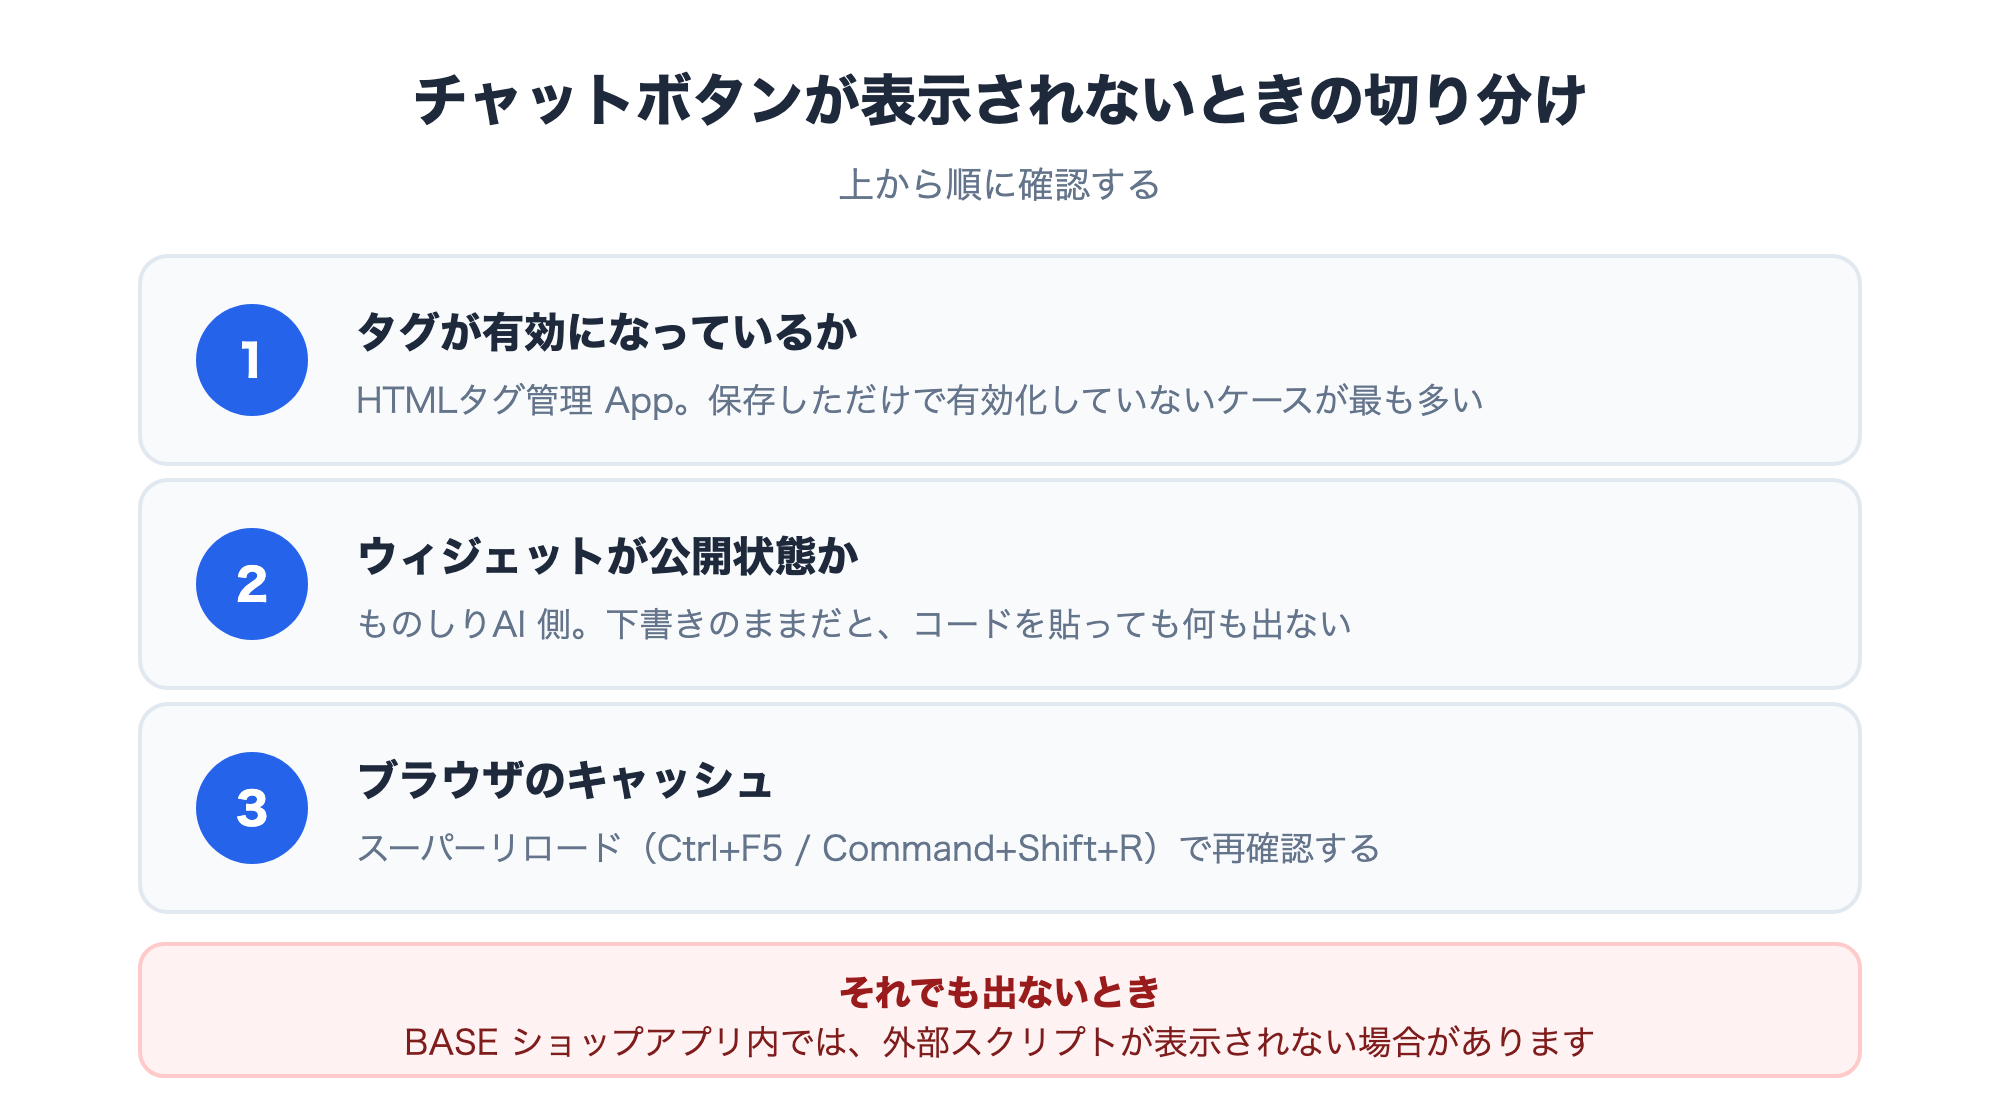
Check in this order.
- Is the tag enabled in HTML Tag Management? Saving without enabling is the most common cause.
- Is the widget published on the chatbot side? A draft widget produces nothing, however correctly you pasted the code.
- Browser cache. Force-reload (Windows:
Ctrl+F5/ Mac:Command+Shift+R) and look again.
It may not show inside the BASE shopping app
BASE has a shopper-facing mobile app that can display your shop. What renders inside that app depends on BASE's own implementation, so an external script such as a chat widget may not appear. In a normal browser, it works as expected.
If a lot of your traffic arrives through the app, do not route every inquiry through the chatbot alone -- keep your existing contact form available.
Buttons overlap in the corner
BASE shops can accumulate a cart button and floating elements added by other apps. The bottom-right corner gets crowded. If things overlap, move the chat button to the bottom-left in the chatbot's settings; Monoshiri AI exposes the position in the admin.
Avoid showing two chat buttons at once -- visitors find it confusing.
It looks different on phones
Most widgets switch to full-screen on smartphones. BASE shops skew heavily toward mobile purchases, so open your shop on a real phone after installing. Narrowing a desktop browser window will not reveal every layout problem.
It cannot process payments or edit carts
A chatbot answers questions from documents. It does not place orders, add items to carts, or process payments. A request like "please cancel my order" needs a route to a human. Registering your contact form URL in the widget settings gives the AI somewhere to hand off when it cannot answer.
6. The work starts after installation
A chatbot is not a set-and-forget device. Whether it pays off is decided almost entirely by whether you read the conversation logs.
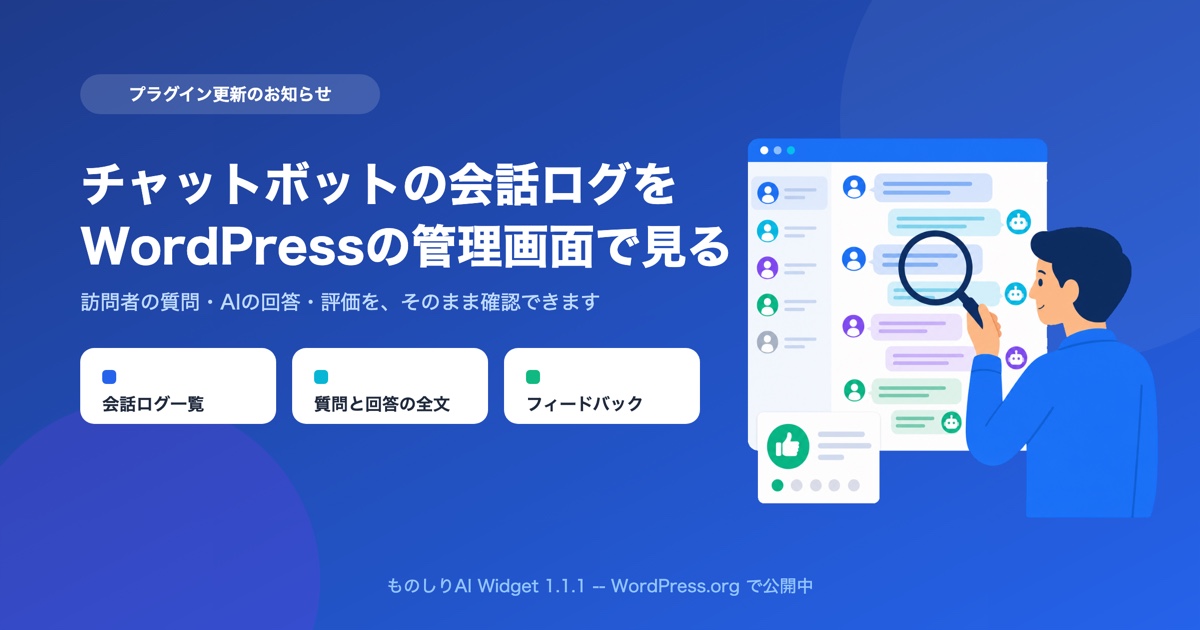
In Monoshiri AI's admin you can see visitor questions, the AI's answers, and ratings. The ones worth studying are not the successful exchanges but the failures -- they are a ready-made list of information missing from your shop.
Common patterns:
- The free-shipping threshold is not on the product page, so add the condition to the shipping table
- Lots of "will it arrive tomorrow?" questions, so add a dispatch-schedule document
- Sizing questions cluster on one product, so fix that product's description itself
The third one matters most. Questions arriving at the chatbot double as an improvement list for your shop pages. The most effective way to reduce inquiries is to make them unnecessary in the first place.
Summary
- On BASE the install point is the HTML Tag Management app, free of charge and usable on the standard plan
- The flow is copy the embed code, add the app, create a custom tag, paste and save -- four steps, no code editing, about five minutes
- Tags are stored separately from themes, so changing your design theme does not remove the setting
- The free-tier boundary is essentially monthly answer volume; Monoshiri AI's Free tier is 150, reached at five questions a day
- Answer quality comes from document quality: shipping table, return policy, delivery estimates, size charts and legal disclosures, copied from existing pages
- When nothing appears, check tag enabled, widget published, cache -- in that order
- It may not render inside the BASE shopping app, so keep your existing inquiry route open
- After installing, read the conversation logs and feed the failures back into your documents and product pages
Share this article
Related Articles
How to Add a Chatbot to Shopify -- The Custom Liquid Method, No App Required (2026)
Three ways to install a chatbot on a Shopify store, compared, plus the step-by-step Custom Liquid method that needs no app. Covers the theme-swap trap that silently removes it, why it cannot appear on checkout, and how far a free plan goes.
How to Add a Chatbot to STUDIO -- The Custom Code Method, Step by Step (2026)
How to install an AI chatbot on a site built with STUDIO, following the actual settings screen. Covers why a paid plan is required, why nothing shows up in preview, and why the Embed box is the wrong place for it.
How to Add a Chatbot to Wix -- The Custom Code Method, Step by Step (2026)
How to install an AI chatbot on a Wix site, following the actual dashboard screen. Covers why a connected domain is a prerequisite, the spec where changing domains deletes your snippet, and how it differs from the built-in chat.


![Automate Website Inquiries with AI -- A Chat Widget Implementation Guide [2026 Edition]](/blog/chat-widget-guide/header.jpg)