
Search for a Shopify chatbot and you land in the App Store. There are plenty of them, with plenty of reviews. Install one, though, and the friction shows up quickly: the monthly price is higher than expected, the admin is English-only, and the Japanese answers read awkwardly.
What gets overlooked is that a Shopify chatbot does not require an app at all. Paste an embed snippet into your theme and it runs. No app permissions to grant, no leftovers to clean up after an uninstall.
This article lays out the three ways to install a chatbot on Shopify and walks through the lowest-effort one, Custom Liquid. It also covers the Shopify-specific trap where swapping themes silently removes it, and the fact that checkout pages are off limits.
What this article covers
- The three install methods (Custom Liquid, theme.liquid, app) and how to choose
- The concrete steps to install without an app
- Which methods survive a theme change and which do not
- How far a free plan goes, and where paid begins
- Shopify-specific constraints, including checkout and Shopify Markets
1. Three ways to install
There are three approaches, and the code you paste is identical in all of them. Only the location differs -- and that determines how it behaves in day-to-day operation.
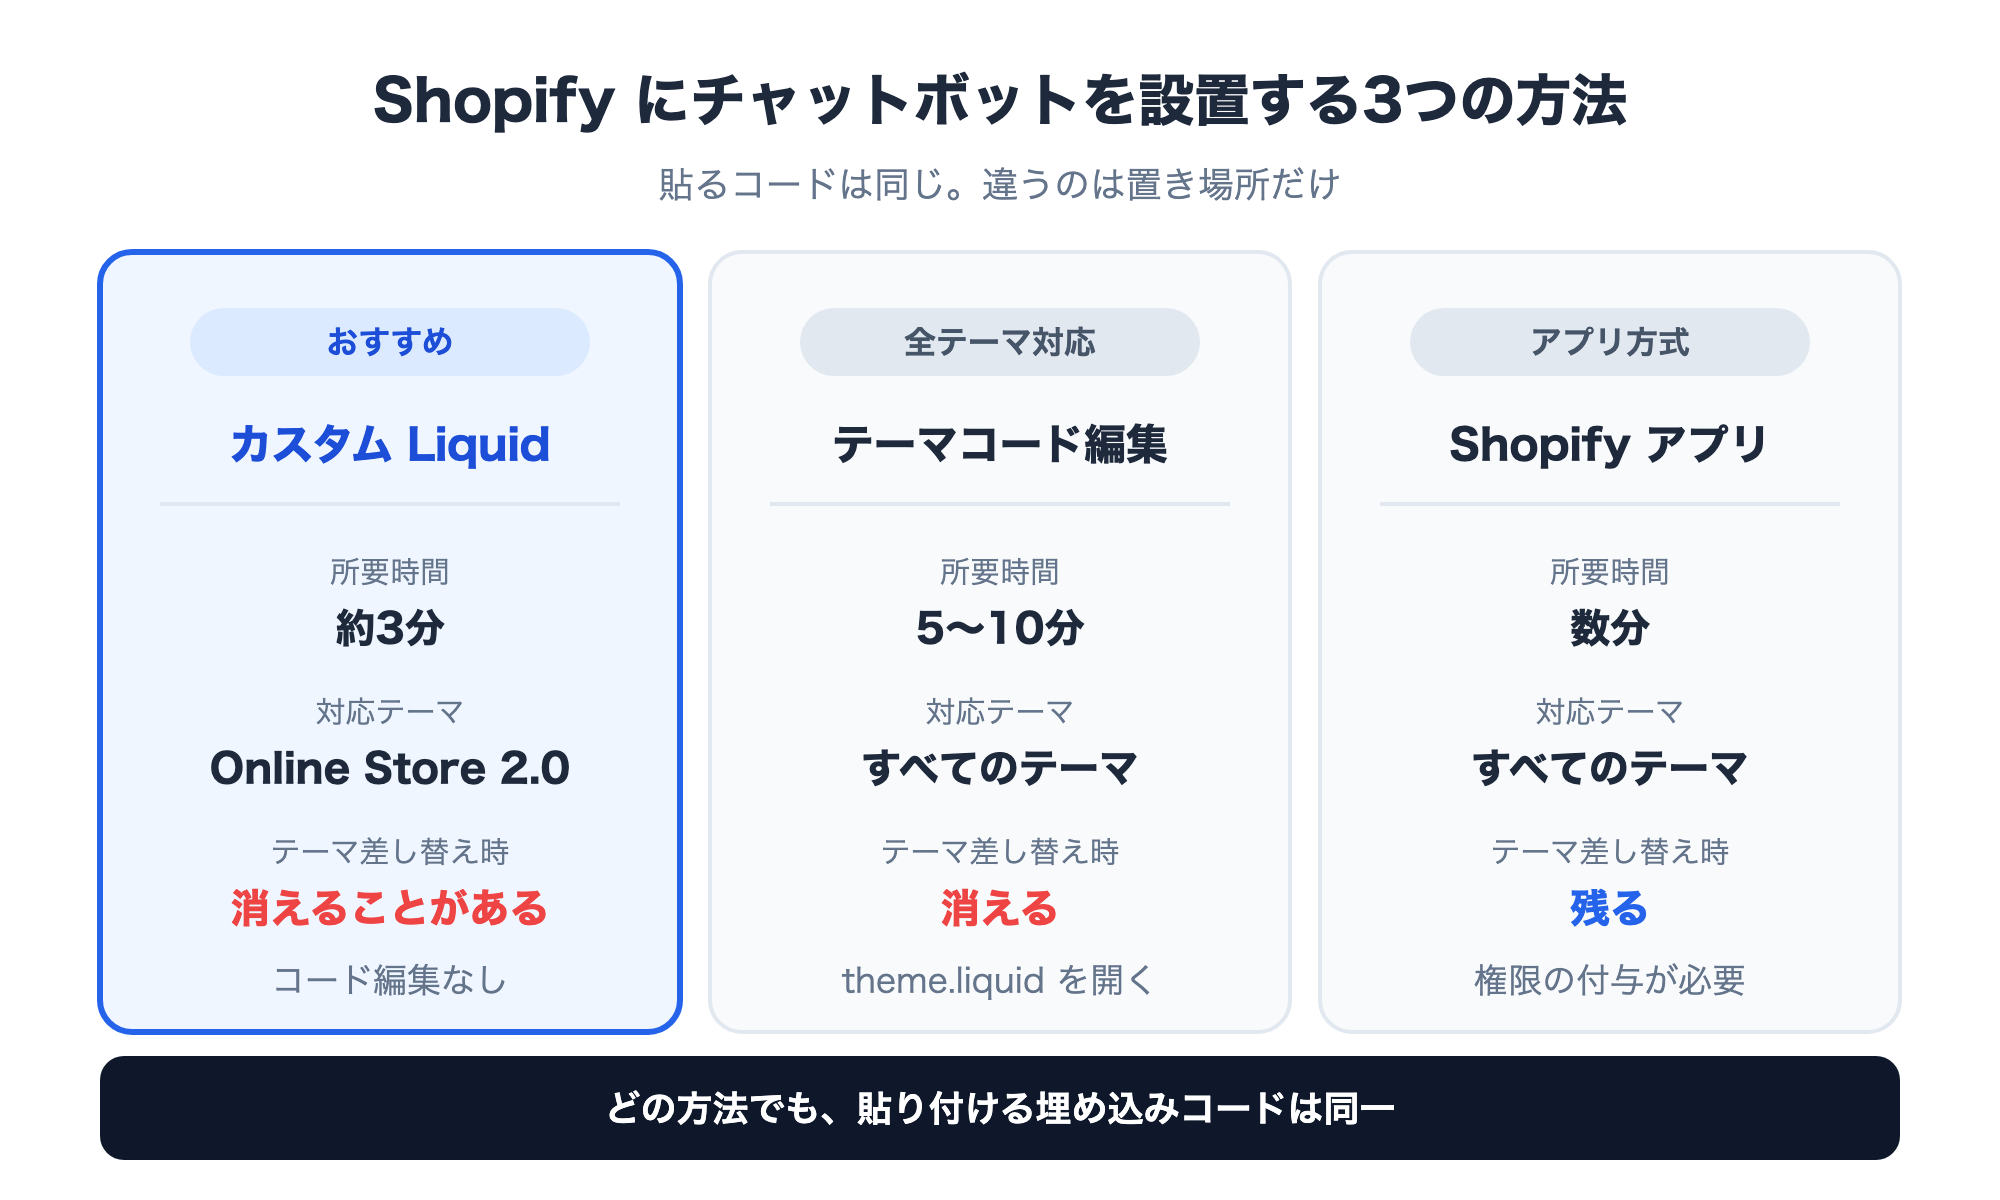
| Custom Liquid | Editing theme.liquid | App | |
|---|---|---|---|
| What you do | Add a section and paste | Open a code file and paste | Install from the App Store |
| Knowledge needed | None | Enough to open the code editor | None |
| Theme support | Online Store 2.0 | All themes | All themes |
| Time required | ~3 minutes | 5-10 minutes | A few minutes |
| After a theme swap | May disappear | Disappears (reinstall on the new theme) | Persists |
| Extra app permissions | Not required | Not required | Required |
| Best for | Most stores | Older themes / guaranteeing every page | Managing everything through apps |
If you are on a current Shopify theme -- Online Store 2.0, including Dawn and its relatives -- Custom Liquid is the shortest path. You work entirely from the theme customizer and never open a code file.
On an older Online Store 1.0 theme, or when you want the widget on every page regardless of theme structure, edit layout/theme.liquid directly.
The app route trades a simpler install for handing an app access to your store. Monoshiri AI currently ships the Custom Liquid method, which means no app install and no waiting on review.
2. The recommended path: Custom Liquid, in three steps
This example uses Monoshiri AI. Every Shopify-side action happens inside the admin.
Step 1: Copy the embed code
Open your widget in the Monoshiri AI admin and copy the embed code -- a single script tag:
<script async src="https://monoshiri.ai/widget/embed.js" data-api-key="(your issued key)" data-api-url="https://api.monoshiri.ai"></script>
You do not register your store domain in advance. The same code works on a myshopify.com domain and on a custom domain. Because nothing is keyed to the domain, moving to a custom domain or promoting a test store to production needs no re-paste.
Step 2: Open the theme customizer
In the Shopify admin, go to Online Store → Themes → Customize.
Watch which theme you are editing. The themes list shows your published theme alongside library themes, and editing a library theme changes nothing on the live store. It is a surprisingly common cause of "I pasted it and nothing happened."
Step 3: Add Custom Liquid and paste
In the customizer, choose Add section → Custom Liquid, paste the code from step 1 into the field, and save.
Put it in the layout shared across all pages (the header or footer area) rather than inside a single template, or it will only appear on that one page type. Delivery and return questions surface on the home page and collection pages too, so store-wide catches more of them.
Save, open the store, and check for the chat button in the bottom-right corner.
Annotated steps are on the Shopify integration page. For the broader thinking on chat widgets across any site, see the chat widget implementation guide.
3. Pasting directly into theme.liquid
Use this on older themes, or when you want the widget on every page regardless of theme structure.
- Shopify admin → Online Store → Themes → Edit code
- Open
layout/theme.liquidfrom the left sidebar - Paste the embed code immediately before
</body>and save
Placing it before the closing body tag keeps it from blocking the page render. It works in <head> too, but the end of the document is the safer choice for page speed.
Duplicate the theme before editing. Use "Duplicate" in the themes list to make a backup, and a mis-paste costs you nothing.
4. Does a theme change remove it?
This is the most-missed point on Shopify.
A Custom Liquid section is stored inside that theme. Swap to a different theme and it does not come along -- the chatbot simply stops appearing. Direct theme.liquid edits behave the same way, because the new theme does not contain your code.
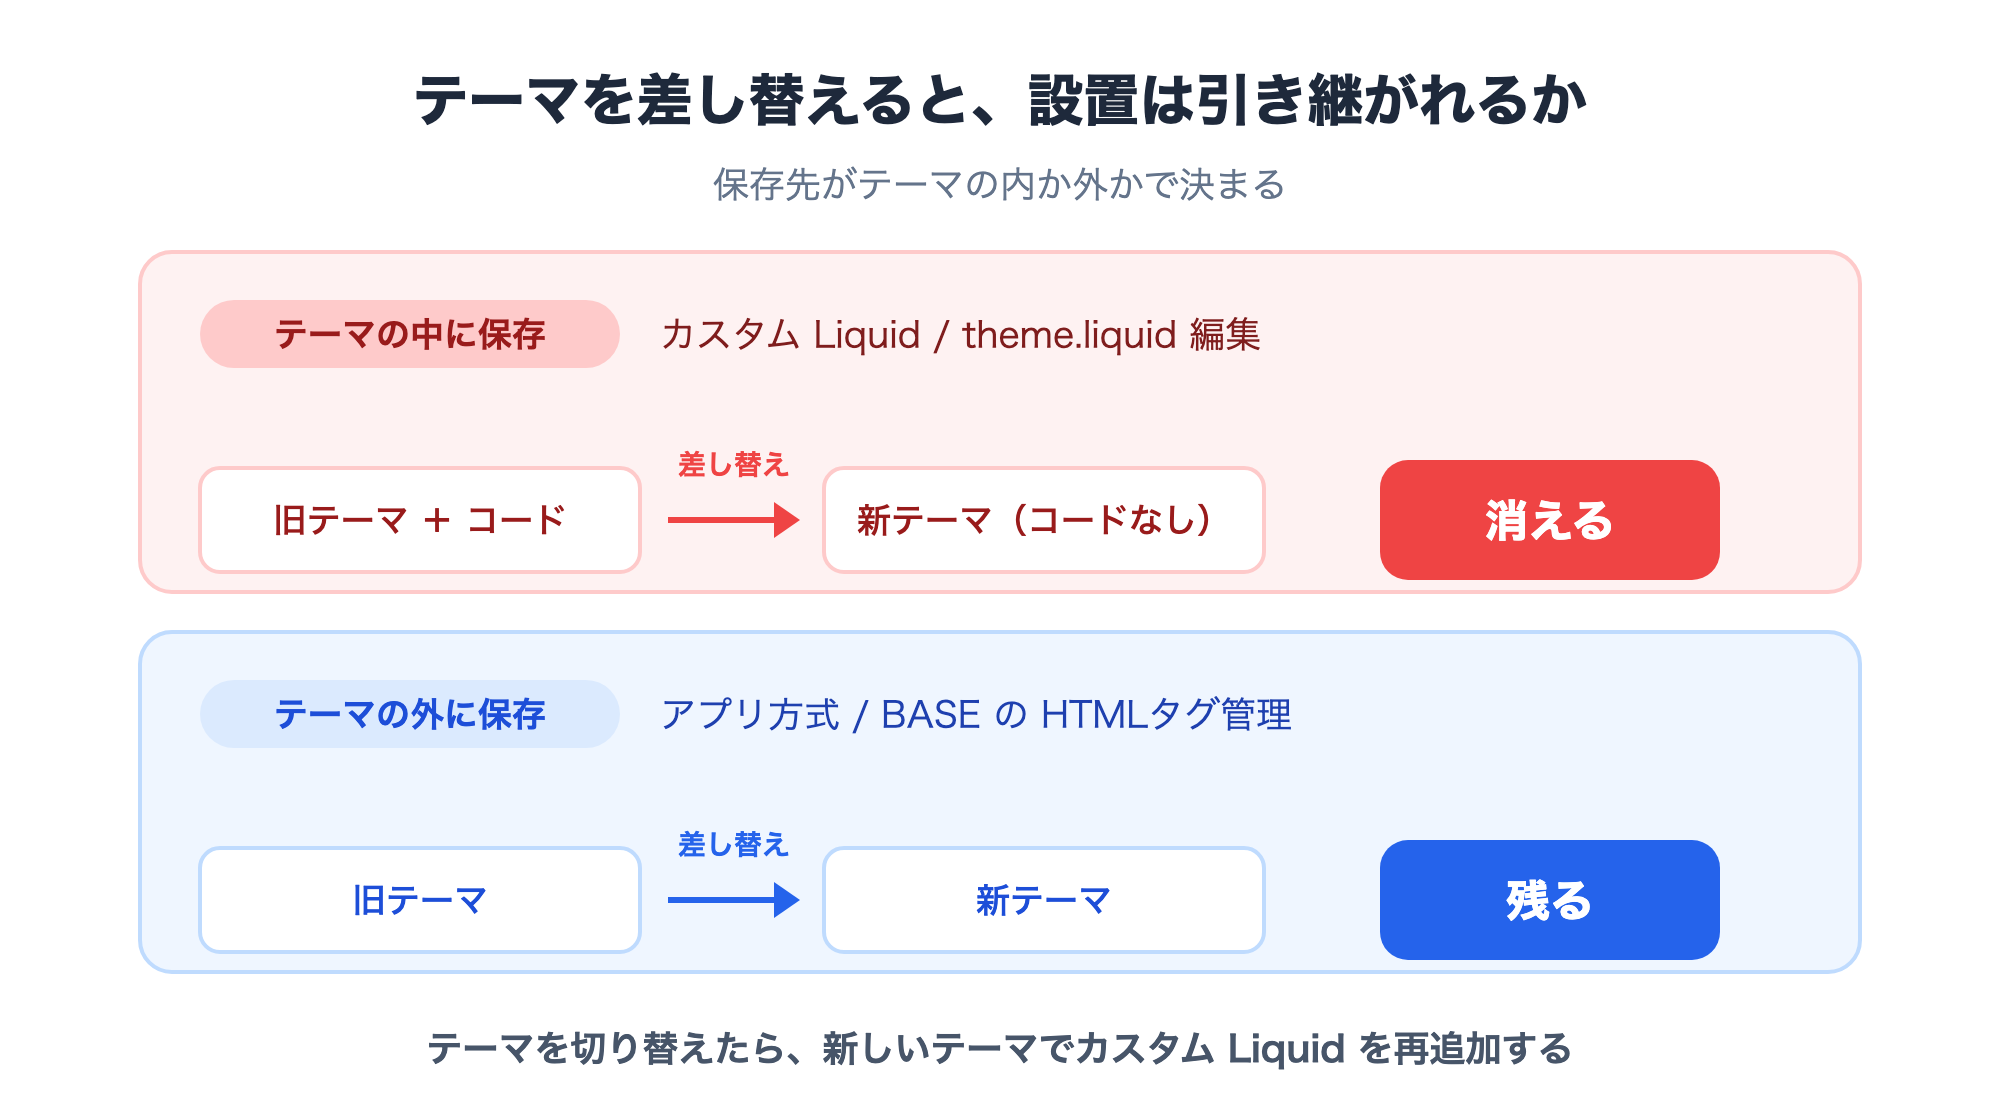
What makes this awkward is how quietly it happens. The day after a redesign goes live, the chatbot is gone and nothing announced it.
The fixes are straightforward.
- Re-add the Custom Liquid section whenever you switch themes. Put it on the launch checklist.
- If a redesign is planned, include "chat button visible" in the post-publish checks.
- If you rotate between several themes, install it in each of them.
WordPress plugins keep their settings across theme changes; on Shopify, custom code belongs to the theme. Knowing that difference is what prevents the incident. For how install methods and "free" differ across platforms, see How to add a chatbot to WordPress for free.
5. How far the free tier goes
On Shopify the cost sits entirely on the chatbot side. Installing via Custom Liquid adds nothing to your Shopify bill, and the same steps work on every paid plan including Basic.
For reference, here are Monoshiri AI's numbers.
| Free | Light | Standard | Pro | |
|---|---|---|---|---|
| Monthly (incl. tax) | ¥0 | ¥2,980 | ¥7,980 | ¥29,800 |
| AI answers per month | 150 | 1,000 | 3,000 | 20,000 |
| Folders | 1 | 5 | 10 | 30 |
| Files per folder | 30 | 100 | 300 | 300 |
| Chat widget | 1 (150/month) | 1 | 1 | 1 |
As of September 2026. See Pricing for current details.
Judge by your expected monthly inquiry volume.
- Likely under 150 a month -- use the free plan to collect real questions, then decide on paid once you have read them
- Sales and product launches spike your volume -- answering pauses at the cap, so choose a plan sized for your peak, not your average
- Cross-border selling with multilingual inquiries -- more languages means more questions; estimate generously
In practice the free plan is a way to confirm it works on your store. Once the chatbot starts working, 150 answers arrive at about five questions a day.
6. Shopify-specific constraints and sticking points
It cannot appear on checkout (Shop Pay)
Shopify restricts customization of checkout pages, so an embed-based widget will not render there.
The practical impact is limited. Delivery and return questions arise before the item reaches the cart, and answering them there is the point. Product, collection, home and policy pages all display the widget normally.
Using it on multilingual Shopify Markets stores
With Shopify Markets, visitors arrive in different languages. Monoshiri AI handles Japanese, English, Chinese and Korean, so it can take a first pass at questions from overseas customers.
That said, the AI can only answer from the documents you upload. Upload only a Japanese shipping policy and English questions get answered from Japanese source material. For a multilingual store, upload the delivery and return policies in each language to raise accuracy.
Conflicts with speed-optimization apps
Store speed apps often defer or bundle JavaScript. When that collides with the chatbot script, the button fails to appear or fails to open. Most such apps have an exclusion list -- add the chatbot script to it and the problem goes away.
Buttons overlap in the corner
Shopify stores accumulate cart drawer buttons and floating elements from various apps. If they collide, switch the chat button to the bottom-left in the chatbot's settings; Monoshiri AI exposes this in the admin.
It cannot look up or change orders
The chatbot answers questions from documents. It does not check order status, cancel orders, or process payments. An individual query like "when will my order arrive?" needs a human. Registering your contact form URL in the widget settings gives the AI a handoff target when it cannot answer.
7. The documents to upload first
Answer quality is essentially document quality. There is no scenario design -- upload text or PDFs and the AI answers from them.
For a Shopify store, these five are the efficient starting point.
- Shipping policy -- rates, days until dispatch, arrival estimates by region, international availability
- Return and exchange policy -- the window, who pays postage, excluded items
- Legal / commercial transaction disclosures -- copying the page already published on your store is enough
- Size charts, materials and care instructions -- include product-description phrasing like "a relaxed fit" so vague questions land
- Payment methods and receipts -- a surprisingly frequent topic
The trick is to turn existing policy pages into files rather than writing new ones. Attempting to write fresh copy is what stalls most rollouts.
After installing, read the conversation logs. The questions it failed to answer are a list of what your store does not say. Beyond adding to your documents, they are a prompt to fix the product descriptions themselves -- the most effective way to reduce inquiries is to make them unnecessary.
Summary
- Shopify offers three install methods -- Custom Liquid, theme.liquid, and an app -- and the pasted code is identical; only the location differs
- On Online Store 2.0 themes, Custom Liquid is fastest: about three minutes without opening a code file
- No app install is needed, so you never grant an app access to your store
- The biggest trap is that a theme swap removes the install; add it to your post-redesign checks
- The embed code needs no domain registration -- it works on myshopify.com and custom domains alike
- Checkout (Shop Pay) will not show the widget by design, though the impact is limited since the questions arise before the cart
- The free-tier boundary is essentially monthly answer volume; size your plan for sale peaks, not averages
- For cross-border stores, upload policies in each language to improve multilingual first-response accuracy
Share this article
Related Articles
How to Add a Chatbot to STUDIO -- The Custom Code Method, Step by Step (2026)
How to install an AI chatbot on a site built with STUDIO, following the actual settings screen. Covers why a paid plan is required, why nothing shows up in preview, and why the Embed box is the wrong place for it.
How to Add a Chatbot to Wix -- The Custom Code Method, Step by Step (2026)
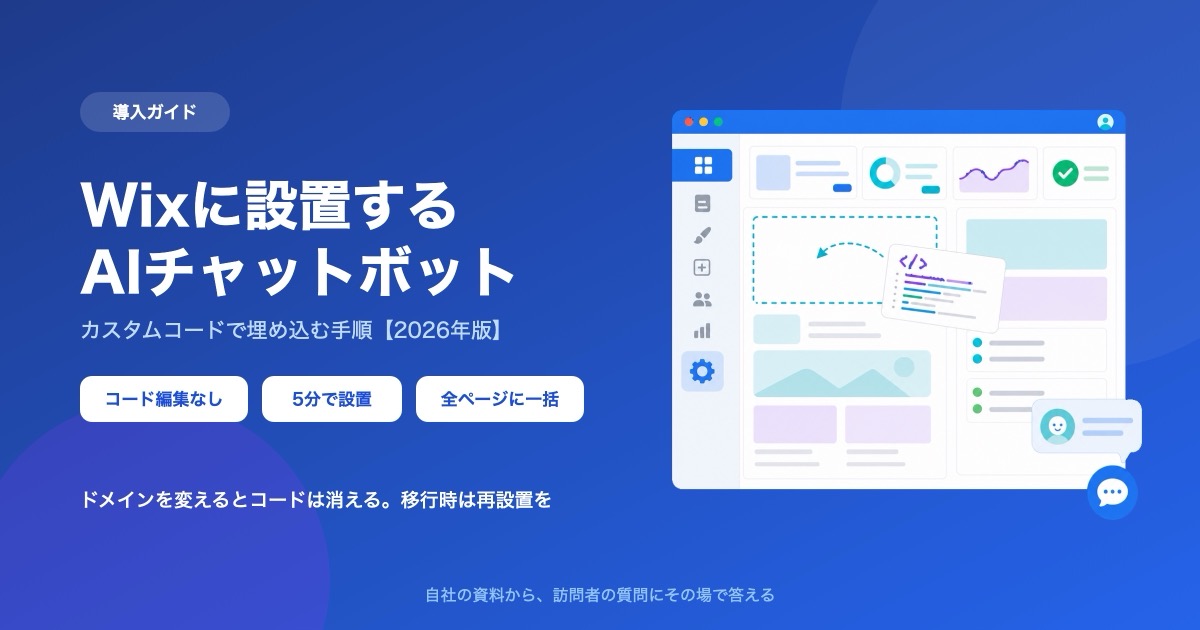
How to install an AI chatbot on a Wix site, following the actual dashboard screen. Covers why a connected domain is a prerequisite, the spec where changing domains deletes your snippet, and how it differs from the built-in chat.
How to Add a Chatbot to BASE -- A Free Setup via the HTML Tag App (2026)
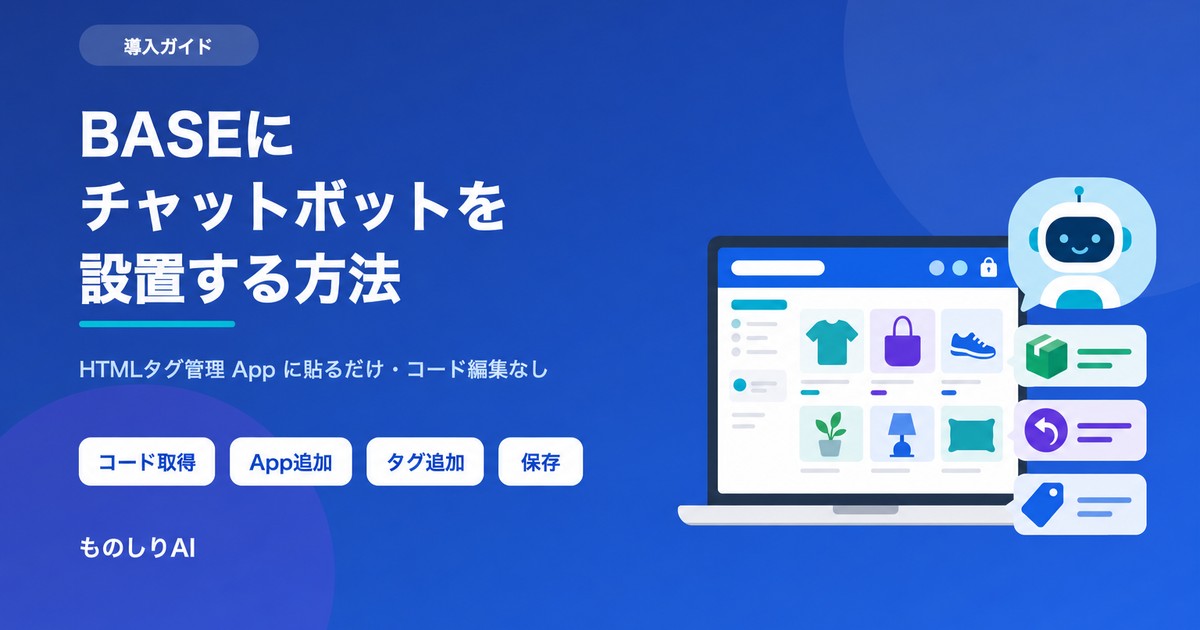
A step-by-step guide to putting an AI chatbot on a BASE online shop using the HTML Tag Management app. What the free tier covers, which documents make it answer shipping and return questions, and what to check when the button never appears.


![Automate Website Inquiries with AI -- A Chat Widget Implementation Guide [2026 Edition]](/blog/chat-widget-guide/header.jpg)